

Aptus Outdoor Set: Easy 5-Part Outdoor Nutrient Kit Explained
A simple guide to the Aptus Outdoor Set, what it includes, how each product works, and why it makes outdoor growing easier.

Free shipping by country & method *Free delivery over 60€ applies to most EU countries. Shipping conditions may vary by destination.
Login
Register


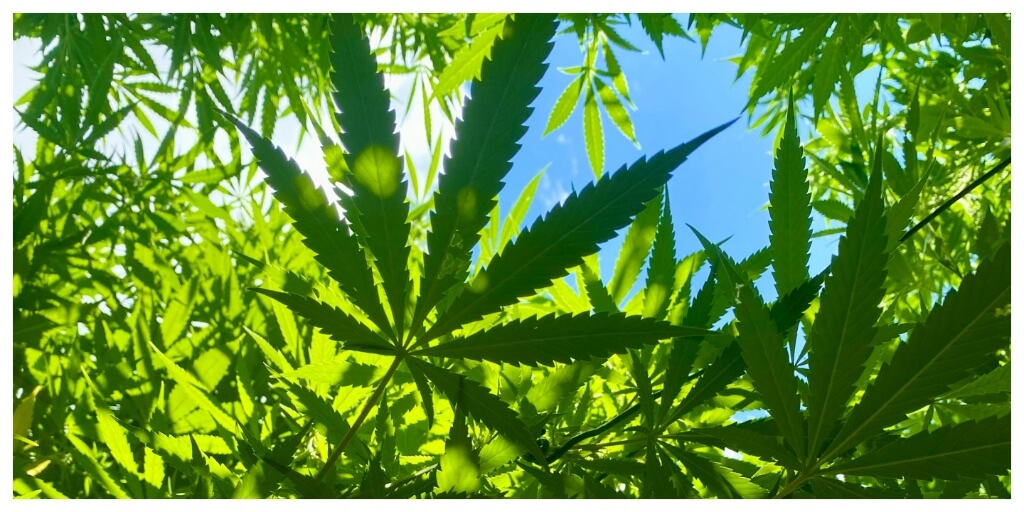
Thinking about growing one of the most legendary cannabis strains out there? Let’s talk Kush. This powerhouse of a plant comes from the rugged Hindu Kush mountain range, and it brings that same tough, resilient energy straight into your grow space.
Whether you’re a seasoned grower or just dipping your toes into the soil for the first time, cultivating Kush is a solid choice. It’s known for being surprisingly chill to grow and gives you hefty, high-quality buds with just the right amount of attention.
But before you go tossing seeds in dirt and hoping for the best, let’s break down the essentials so you actually know what you’re doing. You’ll want to understand how Kush works, what it needs, and how to set it up for success. And if you’re itching to skip straight to the how-to, we won’t stop you. Scroll on.
Before we dive into pots, lights, and grow tents, you gotta know your plant. Kush is a variety of Cannabis Sativa that’s evolved to handle harsh, cold mountain climates. That makes it a bit of a beast when it comes to adapting, it doesn’t throw a fit over less-than-perfect conditions.
Now that you’ve got some background, let’s get into setting the stage.
Here’s the truth: what you put in on Day One sets the tone for the whole grow. That starts with two major factors, solid genetics and the right grow environment.
Don’t skimp on seeds. If you want big, stinky, sticky nugs, you need top-tier Kush genetics. Always buy from trustworthy seed banks that can back up their quality. Good seeds mean better germination, better plant health, and better yields. Simple math.
You’ve got options: indoor, outdoor, or greenhouse. Kush is a flexible girl, she handles all three. Thanks to her sturdy, compact structure, she doesn’t need a tropical paradise to flourish. Just pick the setup that works for your lifestyle, climate, and budget.
Once your seeds are in the ground (or rockwool, or whatever you’re into), it’s all about managing three core conditions. Every cannabis strain needs them dialed in, but Kush has her own preferences.
This plant loves light, don’t hold back. If you’re indoors, grab some solid LEDs or HPS lamps. You want to mimic that crisp mountain sun as closely as possible. Outdoors? Make sure she’s soaking up rays in a spot with all-day sun.
Kush likes it warm during the day but can handle a cool-down at night. Think: sunny afternoon hike followed by a chilly evening by the fire. That temp shift actually helps mimic its native climate and boosts bud production.
This is a big one. Kush prefers dry air, especially when she’s flowering. Humidity invites mold and mildew, which are total buzzkills. Indoor growers should definitely invest in a proper ventilation system to keep the airflow steady and humidity low.
Even though Kush is built tough, it’s not invincible. Overwatering is one of the fastest ways to screw things up. Keep your watering schedule consistent but measured. Don’t let your plants sit in soggy soil. Think moist, not marshy.
Want buds that are dense, sticky, and absolutely reeking in the best way? Then you’ll need to feed them right, especially during flowering. Load up on phosphorus and potassium in that stage. Skip the nutrients, and you’ll end up with fluffy, underwhelming buds that don’t hit nearly as hard.
Get in there and trim your plant. Not aggressively, but enough to let light hit lower branches and allow air to circulate through the canopy. Better airflow = healthier plant. Plus, you’ll reduce the risk of mold and maximize yield. Win-win.
Now that the setup and care are in place, it’s time for the part everyone’s been waiting for – when your Kush starts showing off.
This is when things start to get exciting. The flowering phase is when Kush transitions from a leafy green bush to a resin-coated masterpiece. But this stage demands attention, you can’t coast through it.
To trigger flowering, you’ll need to switch up the light schedule. Drop it to 12 hours of light and 12 hours of uninterrupted darkness each day. Respect the schedule interrupting those dark hours can confuse your plant and delay the magic.
Once those chunky buds start stacking up, keep an eye on them. If branches begin to sag under the weight (a good problem to have), use some supports to hold them up. You don’t want your best colas dragging in the dirt or snapping under pressure.
Once your grow space starts smelling like a head shop on 4/20 and the buds are glistening with trichomes, you’re getting close to harvest time.
Nailing the harvest window is key. Too early, and potency drops. Too late, and flavor and smoothness fade.
Check the trichomes. You’re looking for mostly cloudy with a touch of amber. Clear means immature. Mostly amber means sleepy time. Hit the sweet spot for balanced effects.
Cut your plant, trim the big leaves, and hang branches in a dark, breezy space. Keep humidity low to avoid mold. Take your time, this isn’t the moment to rush.
You’re not done yet. If you want buds that taste amazing and hit just right, you’ve got to cure them properly. This step separates the casual growers from the connoisseurs.
Dry slowly to preserve the terpenes. Buds should feel dry outside but have a little give when squeezed. No crispy popcorn buds here.
Once dry, stash buds in airtight jars. Air them daily for a week, just open the jars to let moisture out and fresh air in. After that, keep them cool and dark.
There you go, your guide to growing top-tier Kush. It’s a laid-back but rewarding process. Show the plant some love, stay consistent, and you’ll end up with heavy, potent buds that smell like heaven and hit like thunder.
Now go grow something legendary.
A simple guide to the Aptus Outdoor Set, what it includes, how each product works, and why it makes outdoor growing easier.
Rainy summers need the right genetics. Learn what to look for in cannabis seeds for humid, wet, and unpredictable European climates.
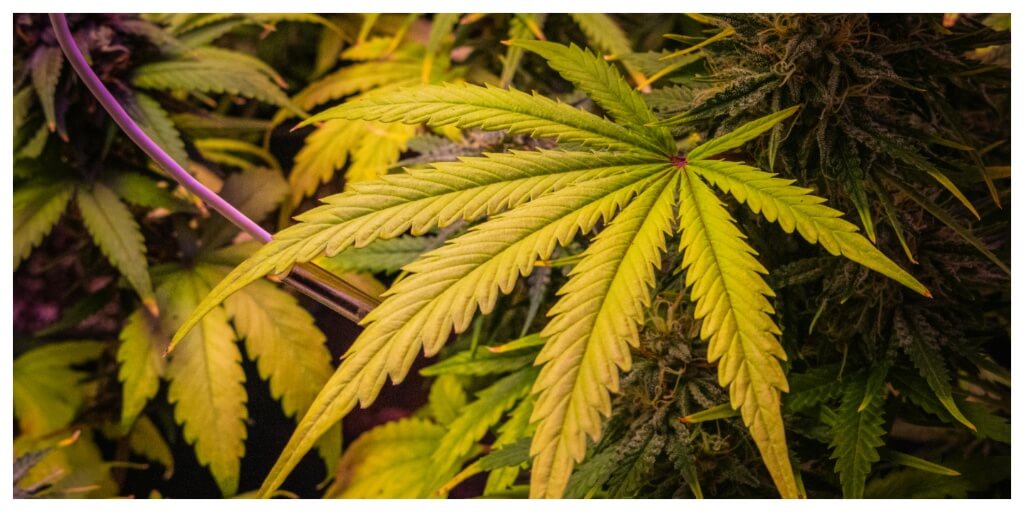
Yellow leaves, brown spots, burnt edges, or slow growth? Learn what common cannabis nutrient deficiency symptoms may mean.